





Levy's Complete Unboxing Guide
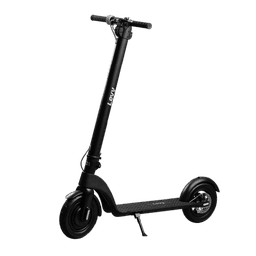
Congratulations! You purchased a Levy Scooter and are now ready to move free! Take a peek at this unboxing guide so that your ride experience will be as smooth as possible.
How to Set Up
First thing you’re going to want to do is take your scooter out of its packaging and set up the scooter.
Once it is out, fold your scooter upright and lock it. You can see how to fold your scooter from our youtube channel.
Next, using the 5 mm allen key provided in your charger box, tighten the brake handle to your handlebars in your preferred position.
After that, remove your handlebars from the accessory box and screw in your handlebars. PLEASE NOTE the handlebars are both going to screw in towards you as if you were standing on the scooter but they have designated sides, denoted by an “L” or “R” right near the threads.
Next, you are going to want to remove the valve extender from your accessory box. This will be used on your tire valves to assist in pumping them up. To see how to use the valve extender, check out this article. Proceed with checking both air-filled tires with a gauge and inflating Levy’s extra-thick inner-tube setup to 50–60 PSI.
Once your tires have been pumped, take a look at your brake caliper. Typically, right out of the box, brakes will need to be adjusted. You can see how to adjust your brakes on our website which details a step by step guide.
Please Note
Tires must be inflated before riding or you risk damaging the wheels, rims or scooter. Brand-new Levy Light and Plus scooters ship with air-filled tires and extra-thick inner tubes. Check both tires with a gauge and inflate to 50–60 PSI before riding. If you have a demo or refurbished scooter, or changed its tire or tube setup, ask Levy Support for the right target.
And voila! Your scooter is ready to ride! We hope you enjoy moving free on your new Levy.
Registering Your Scooter's Warranty
After purchase, you will receive an email regarding registering your scooter for warranty as well as the option to purchase an extended warranty. To register for your warranty, you are going to want to submit your scooter’s serial number as well as your battery’s serial number through the "Register" button on that email:
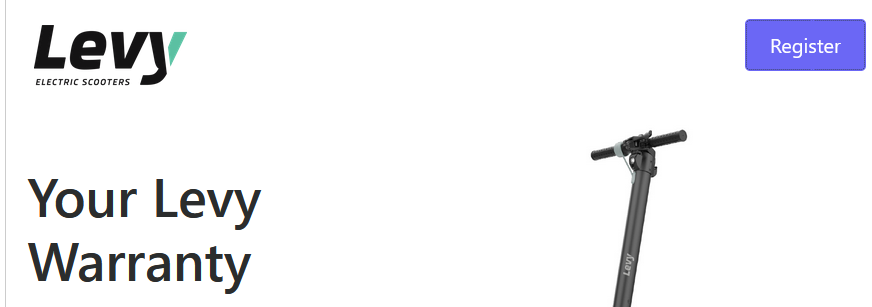
That button will direct you towards a form page where you can input your information. Your order number will be auto-populated as it is taken from the email used for that order. On your scooter's box, there will be a serial number for you scooter. If it is not present, the serial number may also be either underneath the scooter or on the side of the motor.
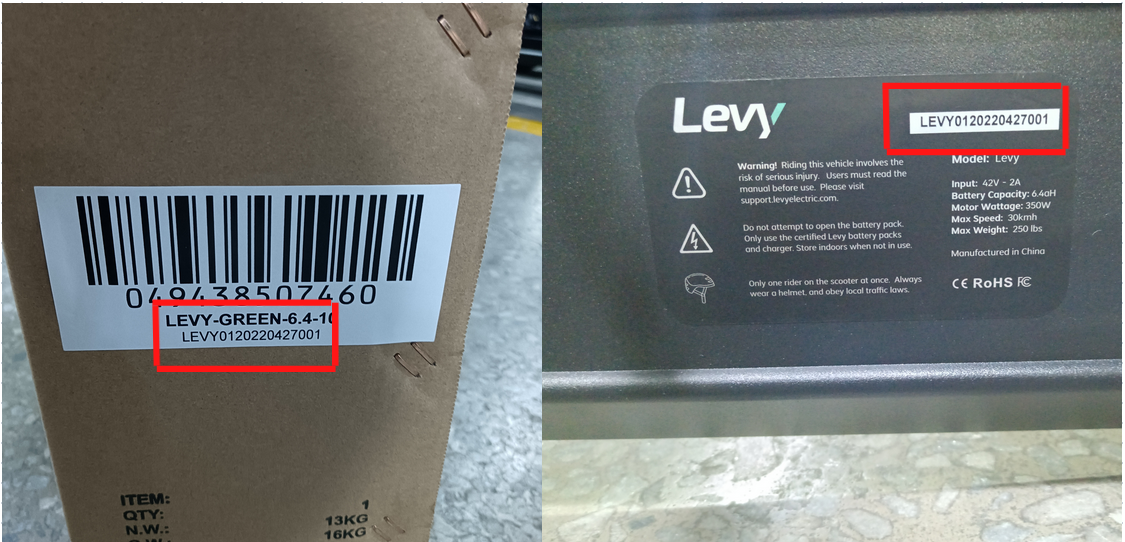
With that number, you are then going to want to populate the field for the scooter's serial number. You will also want to populate the field for your battery's serial number. If you remove your battery from your scooter, it will be either on the top of the battery near the latch (Levy Plus) or on a sticker on the side of the battery (original Levy).
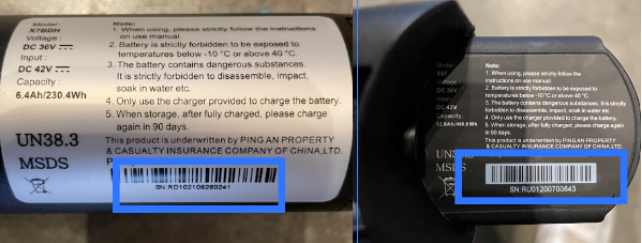
After submitting that form, you are all set! Extended warranties can also be purchased from that original email regarding warranty. If you are interested.
Understanding How To Ride
To start your scooter, hold down on the power button for 2-3 seconds or until the screen lights up.
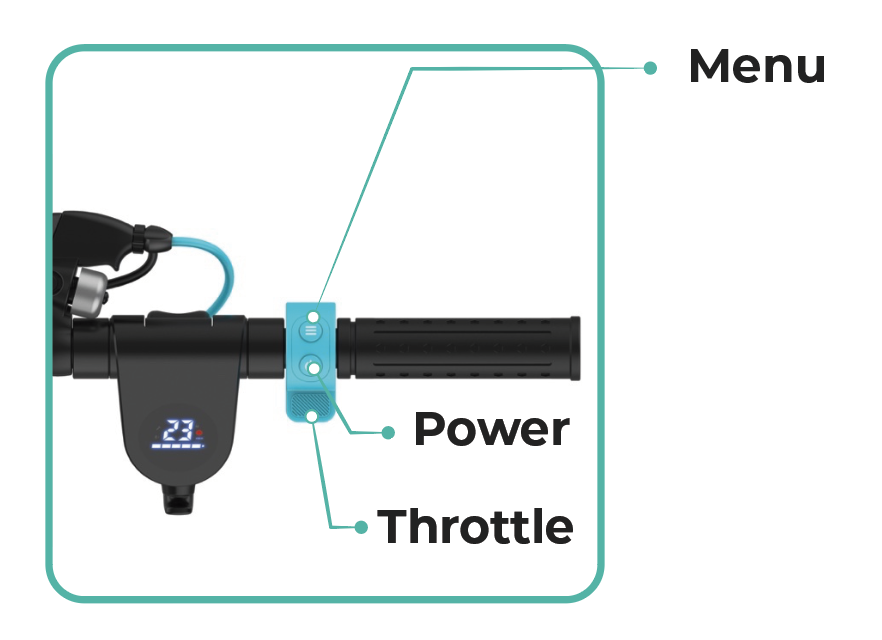
Levy scooters are by default, kick to start, meaning that you must be moving at ~2 mph for the throttle to engage.
To change your speed mode, press on the menu button once. On your LCD, when no “D” is visible, you are in lowest speed, mode. When a white “D” is visible, you are in medium speed mode. When a red “D” is visible, you are in maximum speed mode.
To engage your motor, push down on the throttle with your thumb while riding.
To engage your brakes, pull on the brake handle. Note, your throttle will not engage while your brake handle is pulled back.
To turn on your headlight and rear light, double tap the menu button.
In the rear, you will have a fender covering your back wheel. This fender is NOT a brake, and should not be used to slow down your scooter. We would only recommend using this fender as a brake in the event of an emergency, as repeated use will wear out and ruin your tire.
If you'd like any more information on our two models, check out our user manuals.
Video Unboxing Guide
Rather have a visual experience? Check out our full video unboxing guide for a step by step breakdown of getting you and your scooter on the road.
Was this article helpful?
Related Articles
Product Certs
What are the different classes of e-bikes?
E-bikes / electric bicycles are categorized into different classes based on their levels of motor assistance and speed capabilities.
How Do I Store My Electric Scooter?
Don't plan on using your scooter for awhile? Need to store it? There are a couple simple guidelines to follow to ensure your scooter's longevity....